workflow of setting up octopress
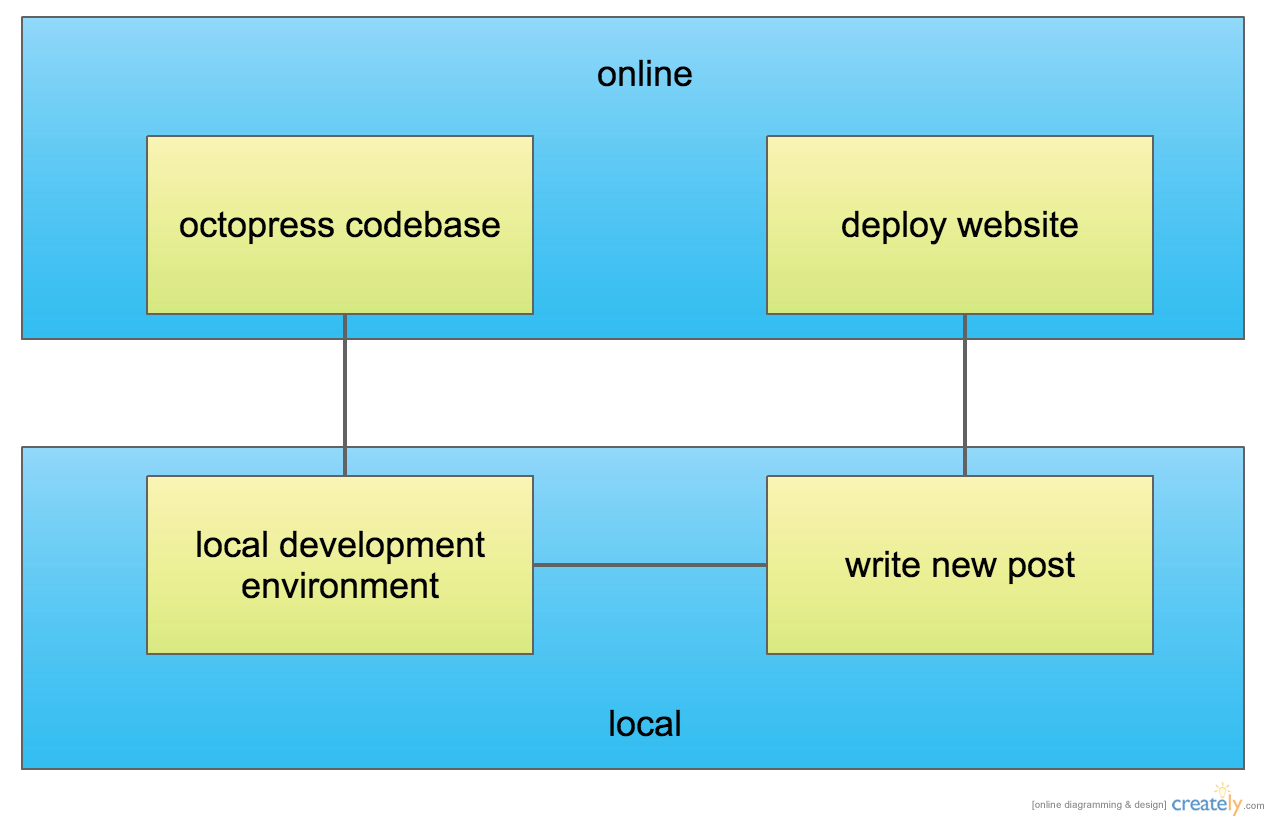
setup local environment
- install git: http://git-scm.com
- install ruby: https://www.ruby-lang.org/en/downloads/
clone octopress repository
git clone git://github.com/imathis/octopress.git
setup local octopress blog
cd octopress
gem install bundler
bundle install
rake install
preview local octopress blog
rake preview
then you can view the blog with url http://localhost:4000.
change some configuration
open the file _config.yml and edit following lines:
- url: the url of the website(which will not be used in the local environment)
- title: the title that will displayed on homepage
- subtitle: the subtitle that will be displayed below the title
- author: your name or nickname
write a new post
rake new_post["how to setup octopress blog"]
and checkout what has happened to your blog
then edit the md file that is generated.
deploy your octopress blog
web server
- create a new git repository with the username.github.io as the name
setup octopress to deploy to right place
rake setup_github_pages
and input the repository url of your git pages repository
generate website and deploy
rake generate
rake deploy
save changes
git add .
git commit -m "your commit message"
git push origin source
third party plugins
github profile
edit the file _config.yml to contain:
github_user: chineseneo
weibo link
- generate the weibo link from http://app.weibo.com/tool/signature
- create an html file in
source/_includes/asides/directory, name itweibo.html. and put the weibo link in it - then edite
_config.ymland add the following content to the keydefault_asides
1
| |
references
- octopress office setup instructions: http://octopress.org/docs/setup/
- What’s jekyll? http://jekyllrb.com/
- What’s markdown? http://daringfireball.net/projects/markdown/
QR Code of this article